
Friday, August 4, 2017
Tuesday, June 14, 2016
Bridal Shower Card - Croatian Twist
Here's a card for a bride-to-be who is of Croatian descent:

The paper doll on the front of the card is wearing the traditional costume of the Šestine region of Croatia. Typically women wear a red kerchief, but a bride wears a flowered headpiece. The red umbrella with stripes is also part of the folk costume worn in the Šestine region and a recognizable souvenir of Croatia's capital which is located in this region.
Supplies Used:
-Cricut Explore & Design Space Online ---Software
-Cuttlebug Embossing Folder from the Fabric Swatches Set
-Paint Pens
-Cricut Explore & Design Space Online ---Software
-Cuttlebug Embossing Folder from the Fabric Swatches Set
-Paint Pens
-Glass beads
-Tulip Puffy Paint
-Ribbon and string
-Recollections Cardstock
-Recollections Cardstock
-AC pigment ink
-Stampin' Up Teen Tiny Wishes Stamp
-Stampin' Up Teen Tiny Wishes Stamp
-Stampin'Up Word Window Punch
-Self-adhesive foam mounts
-Glue
-Self-adhesive foam mounts
-Glue
If you're interested in seeing a photo of the actual folk costumes, here's a link to a Croatian website with some photos: http://www.hkv.hr/izdvojeno/vai-prilozi/i-lj/leskovec-diana/18644-d-leskovec-obicaji-i-folklor-zagrebackog-prigorja.html
Sunday, September 13, 2015
Another Chalkboard Christmas Tag
Here's a second tag I made:

I adore this snowman cut from Cricut Christmas Kitsch cartridge.
Saturday, September 5, 2015
Chalkboard Christmas Tag
Found these great chalkboard tags at Dollarama and decided to make a Christmas tag using vinyl:
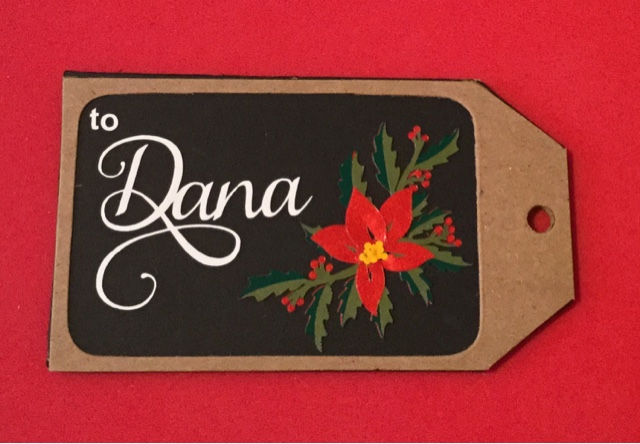
I'm really loving the Cricut 3D Floral Home Decor cartridge and seem to be using it a lot lately.
Thanks for visiting.
Monday, August 31, 2015
Altered LED Candle - "welcome"
Saw a post on Facebook where someone else has altered these LED candles available from Dollar Tree and so, I had to give it a try:

Such an easy project using contact paper and my Cricut Explore.
Thanks for visiting.
Such an easy project using contact paper and my Cricut Explore.
Thanks for visiting.
Friday, October 10, 2014
Mixed Media Inspired Thanksgiving Tag
It's Canadian Thanksgiving Day this Monday and so here's a Thanksgiving tag I made that was inspired by a variety of mixed media canvases I've seen:


I used my Cricut Explore to cut the tag (Platin Schoolbook cartridge) and flowers (CTHM Art Philosophy cartridge). The leaves/branches are a die (Winter Branch) from Die-Namites Cutting Dies. I also used various papers, lace, glitter, some washi tape and rhinstones/half pearls. For texture, I ran the tag through my Cuttlebug with the Poppy embossing folder by Anna Griffin. The brick pattern on the right hand side was created with a stencil I cut with my Explore (CMTH Artbooking cartridge) from a transparency sheet and drywall compound. Colour was added to the cuts, the lace and over the "bricks" with Copics, Silks Acrylic Glaze and Momento inkpads.
Hope you like my tag.
Monday, October 6, 2014
Christmas Cards -Cricut Explore Print Then Cut
I've been trying out the Print Then Cut feature of the Cricut Explore using the Santa's Village cartridge that was originally made for the Cricut Imagine. Here are two Christmas cards with the Santas printed with my HP laser printer then cut on the Cricut Explore.

 Thanks for checking out my cards.


Subscribe to:
Posts (Atom)